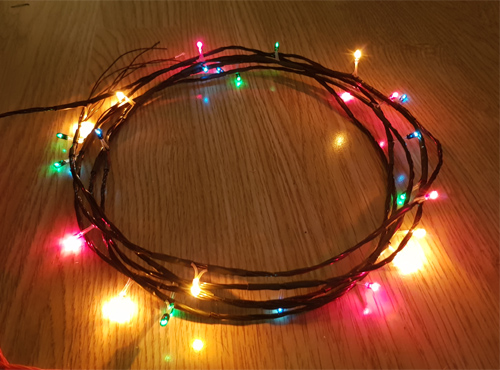
Arduino Christmas Lights show Old fashion light bulbs
This project explain how you can build your own light show using an Arduino.
The unit has 4 outputs which can sink 11A for each channel!
I love LEDs, but nothing beats old fashion lightbulbs.
Specially when it comes to Christmas decorations.
Features:
4 indipendant output channels (colors).
Max current is 11 A for each channel.
Unlimited nr of lamps (or LEDs), as long as the current i less than 11A.
Background
Who doesn't low Christmas lights with all the beautiful colors.
This year I descided to build a Christmas light driver based on Arduino.
The Arduino has several outputs which can be PWM controlled and that means the light intensity can be controlled of each lamp channel.
Arduino is also simple to learn and to use. In my KIT version all comes ready for you, just Plug and Play.
All you need to do yourself is to connect the lamps, which is not complicated at all. I will explain this in section below.
This board can also be used for many different light controlling projects. Is is basically an Arduino and 4 power drivers. (High side swithes).
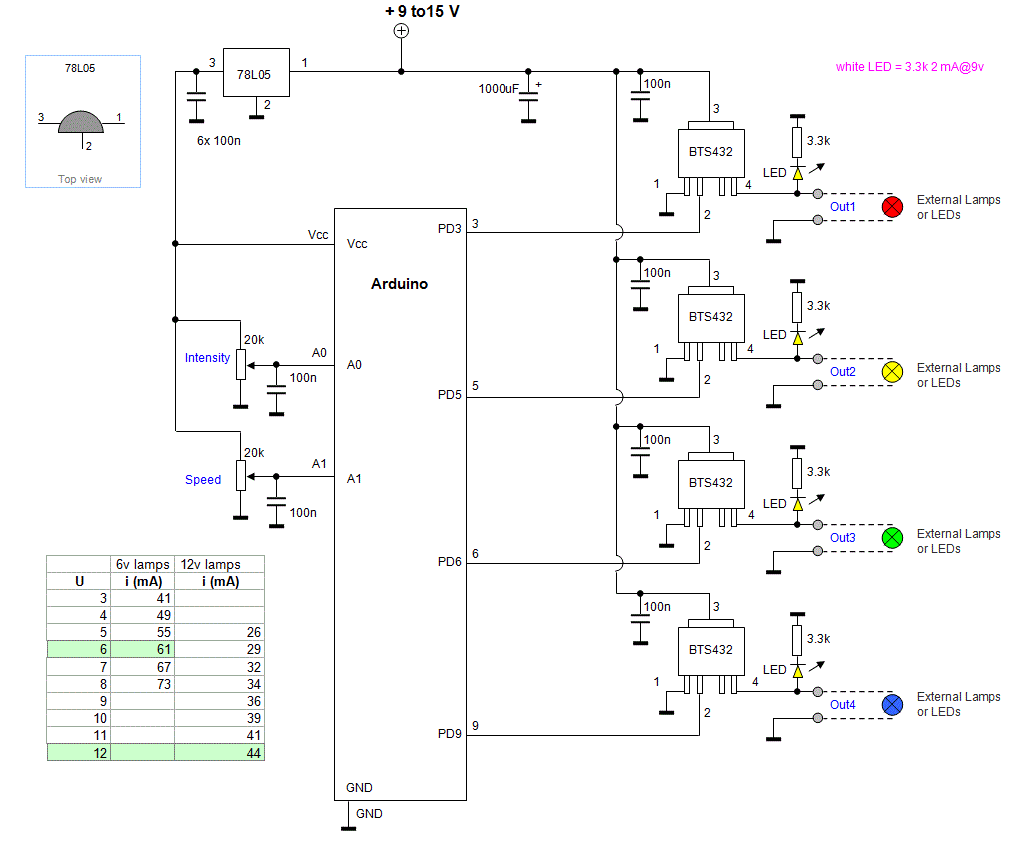
Hardware and schematic
To the right, you will see a movie of the PCB.
You will find 4 pcs high side switches bts432 (blackbox). Below each switch you will see a small LED
which show the output status of the high side switches.
In this software I dim up the lamps and that is why you can see different intensity of the LEDs.
The 4 outputs to all lamps or LEDs, are at the bottom of the PCB (Out1 to Out4).
Arduino Pro-mini
To the right of the PCB is a Arduino Pro-mini.
Arduino is based around the processor ATmega328. If you are new to this and want to learn more you should visit Arduino homepage.
This KIT comes with a pre-programmed ATmega, so you do not need to do anything to get it up and running.
For all Arduino pro out there, please share your creations with the rest of us. (I will put them on the page to download).
Schematic
Click the schematic above to see details.
To the left is the Arduino with the four output pin PD3, PD5, PD6, PD9. All of the can be PWM controlled which means that you can set the intensity from 0 to 100 %.
The signal goes then to four high side switches and out to the lamps. The power to the high side switches comes from main supply +9 to 15V.
Intensity trimpot
You will se the two trimpot Intensity (A0) and speed (A1).
The intensity pot will define the max output PWM power to the lamps. I use 6V lamps, so I need to turn down the intensity to 50%, else I will burn the lamps.
In reality it is very simple, just look at the lamps and adjust the intensity you wish to have.
Speed trimpot
With the speed trimpot you will be able to set the timing between changing colors.
There is a wide span from several Hz down to several seconds between changing color.
Gingerbread house
I also made a lamp decoration for the gingerbread house. I used lamps with no color and put them in the snow (cotton) around the house.
The speed change of the lamps was very slow and I also turned down intensity a bit. It gave a very nice effects on the house.
It looked like the snow was glittering around the house.
I am sure there are many decoration that can use som kind of lightning effects.
If you have ideas and need help or want custom made effects, you are always welcom to email me. You find info at the bottom of the page.
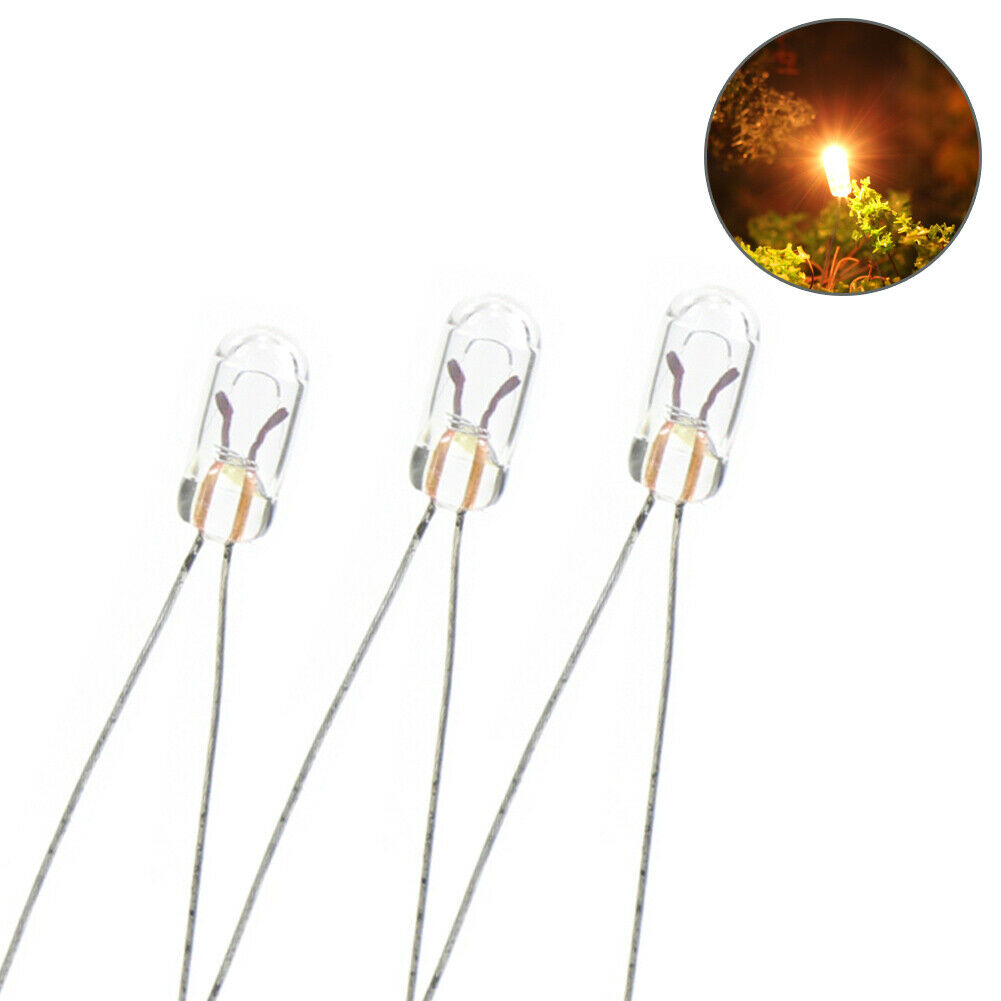
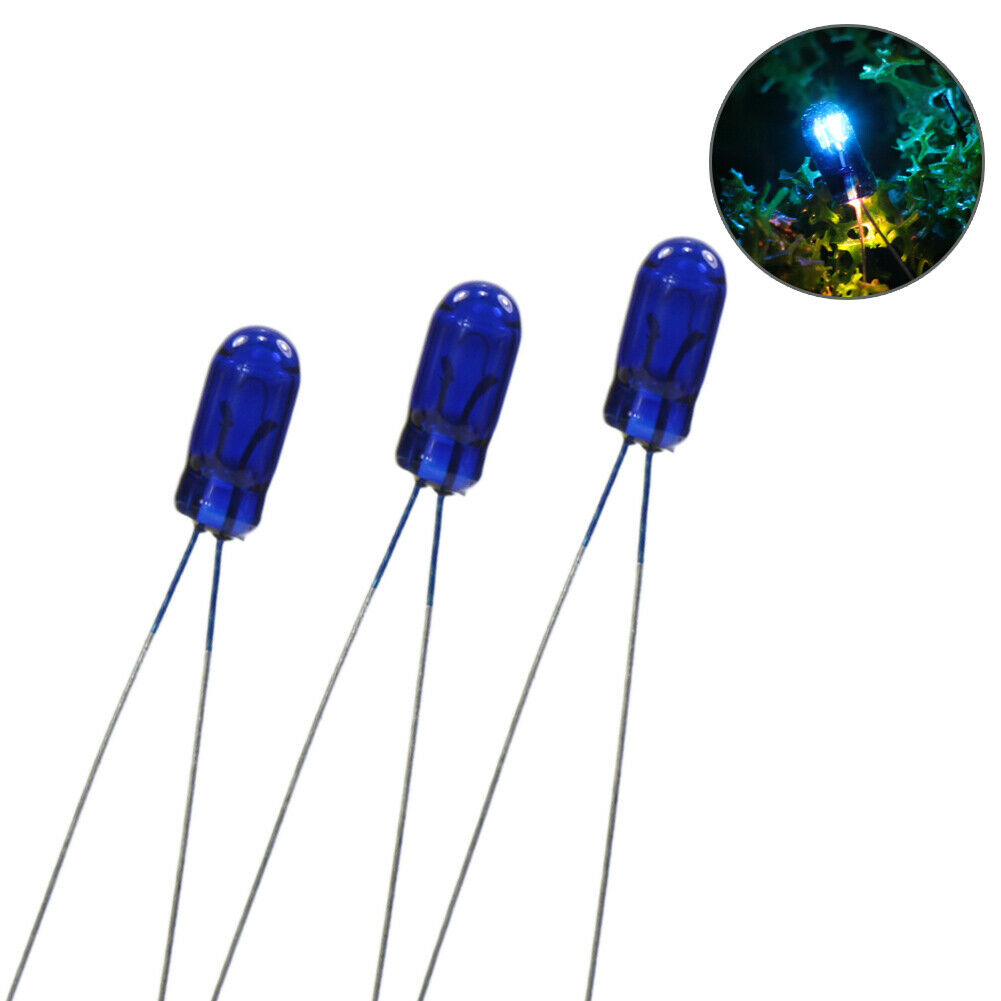
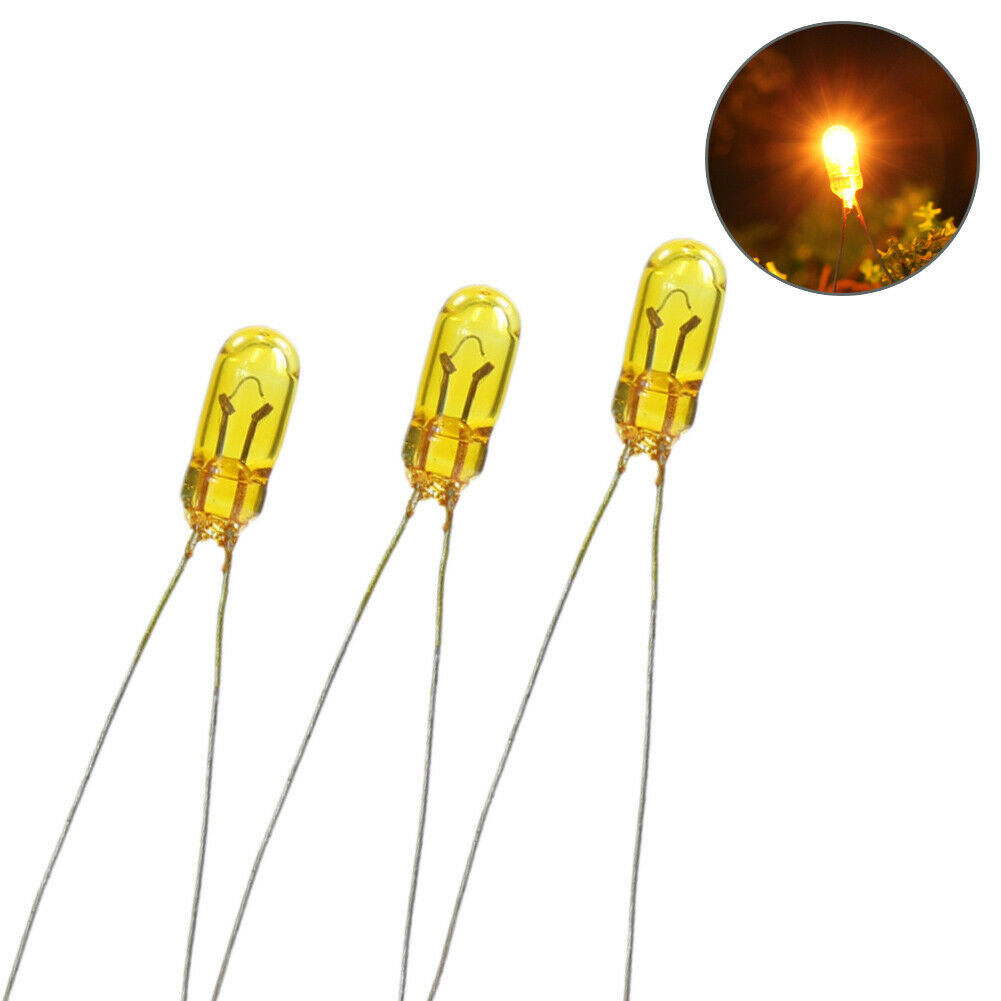
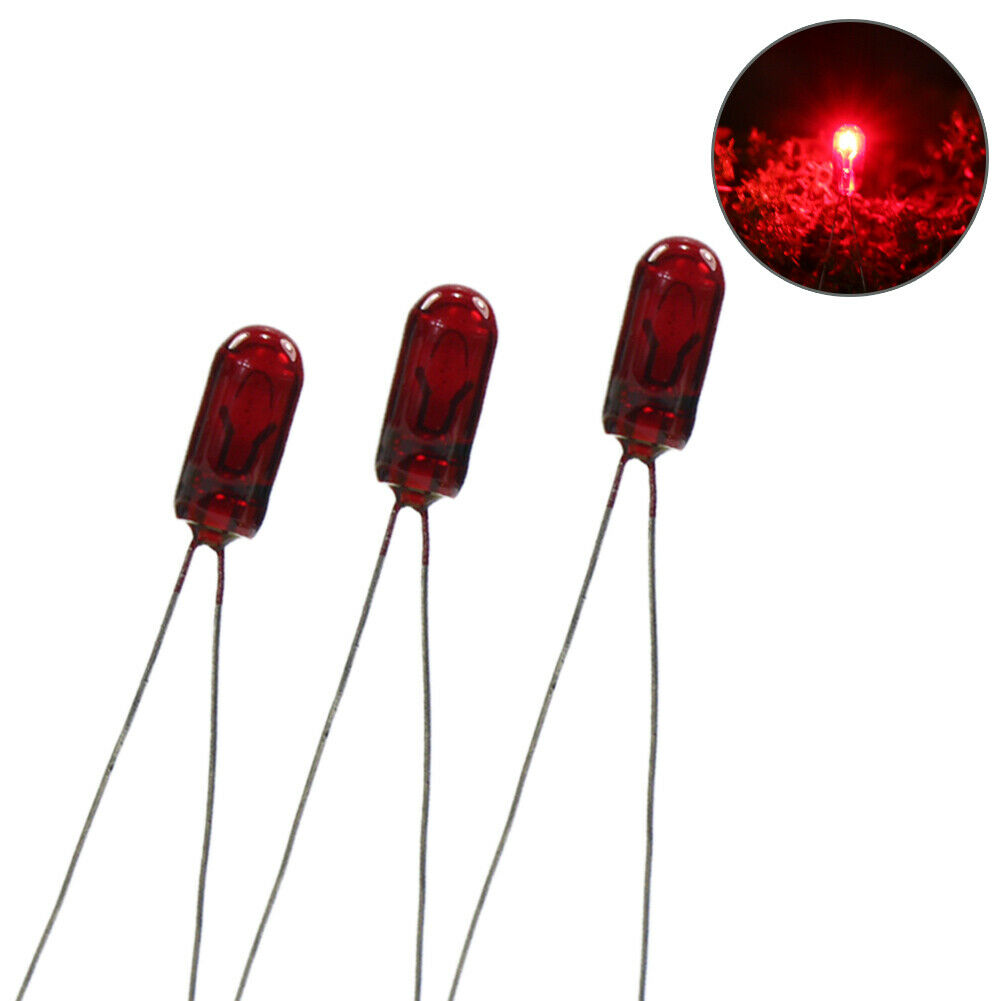
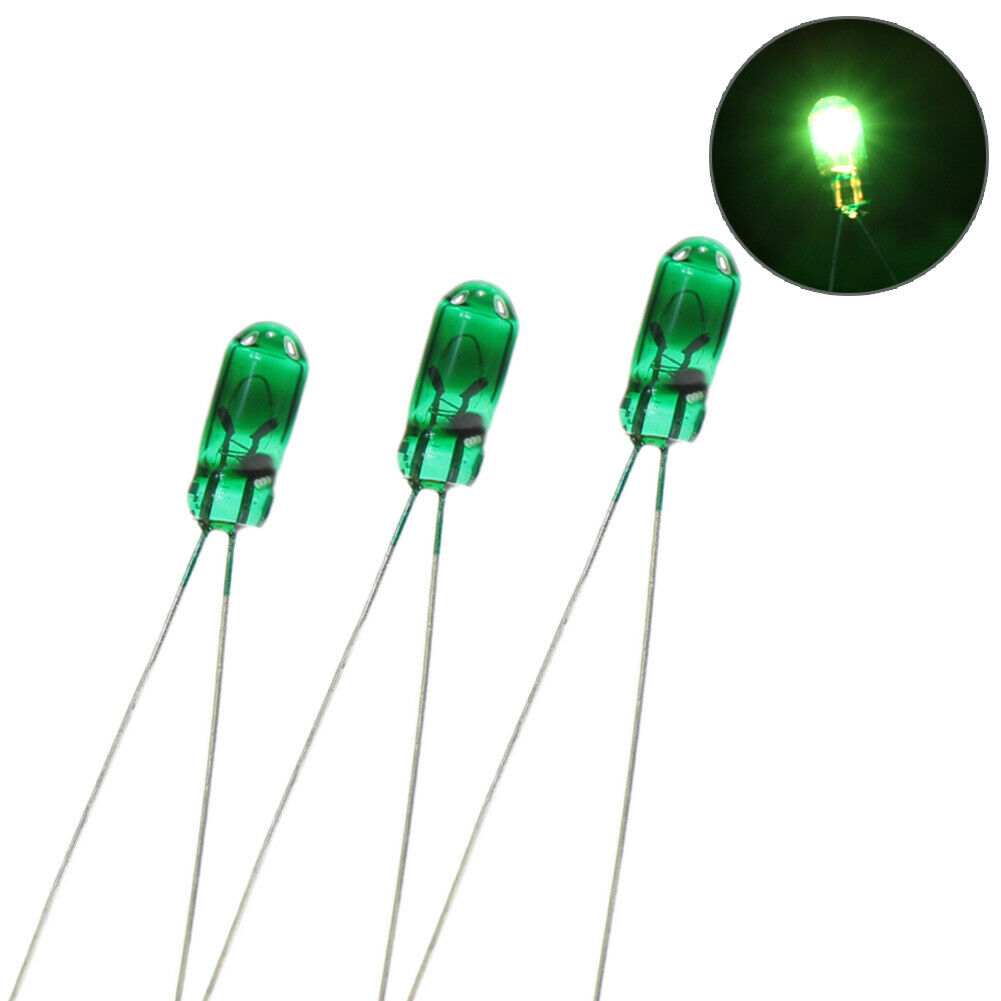
Lamps
Below you will see the lamps I use. The size is 3mm x 7mm and 6V. All lamps can be found in the shop. Click on the pic to see them larger.
You can use many lamps since they only consume 60mA each and you have 11A.
How to connect lamps to the KIT
If you wish to have more lamps than one on each channel, you simply parallel connect them. Picture below show you how to do it.
To the left you will see that the lamps are parallel and have Individual Ground (-).
To the right you will see how all lamps are connected to a Common Ground (-). The only advantage is that you will have 3 less ground wires BUT
you must make sure the Common Ground wire is thicker, since it will hande all returning current. If you have a too thin wire, you will loose energy and that makes the lamps
shine with lower intensity and can give flickering effects.
Final word
I hope you have enjoyed reading about this lamp project.
Hopefully you have found new inspiration for your own projects. I will ofcourse share your projects here if you wish.
 Arduino Christmas Lights show
 Intensity trimpot